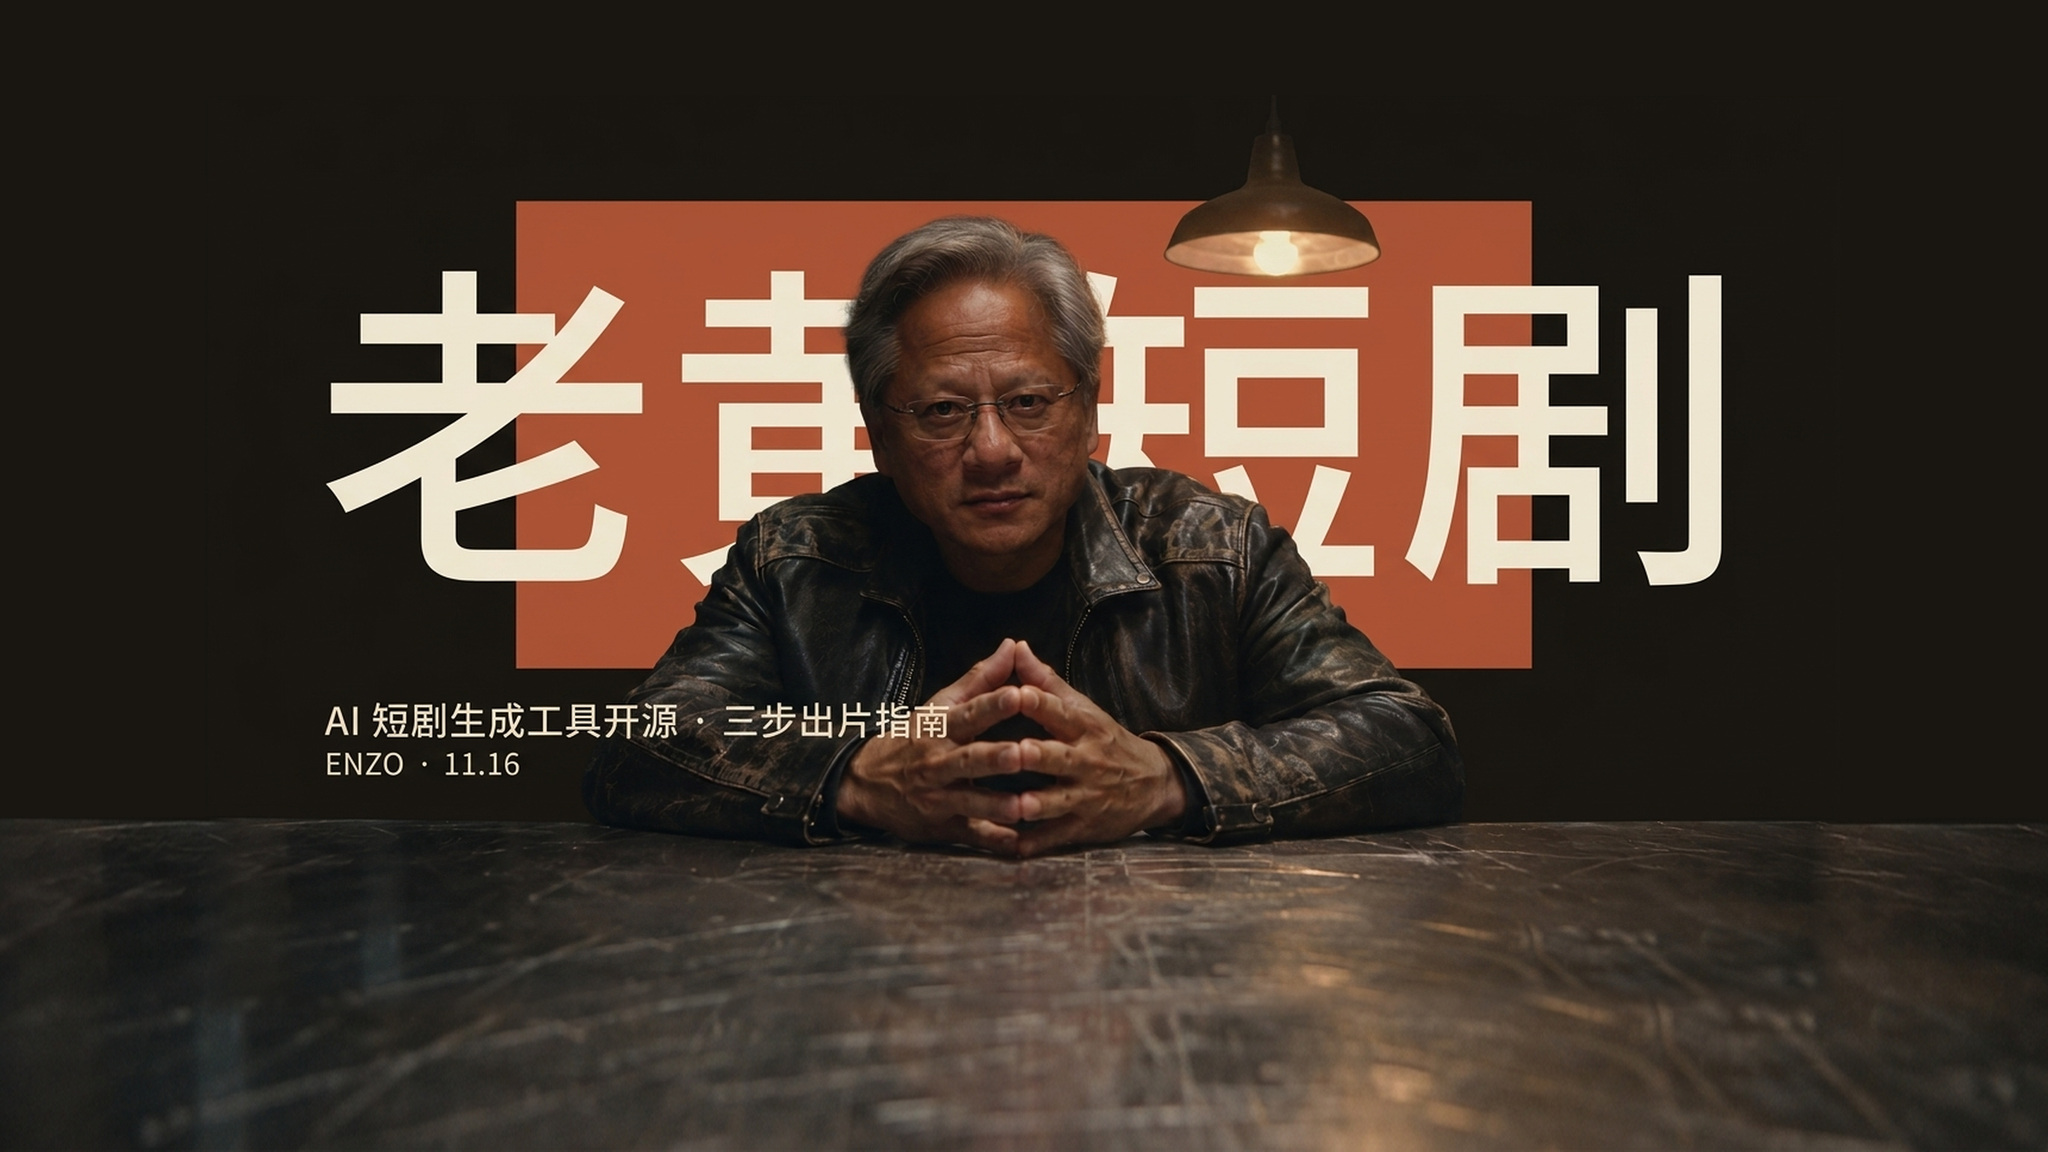
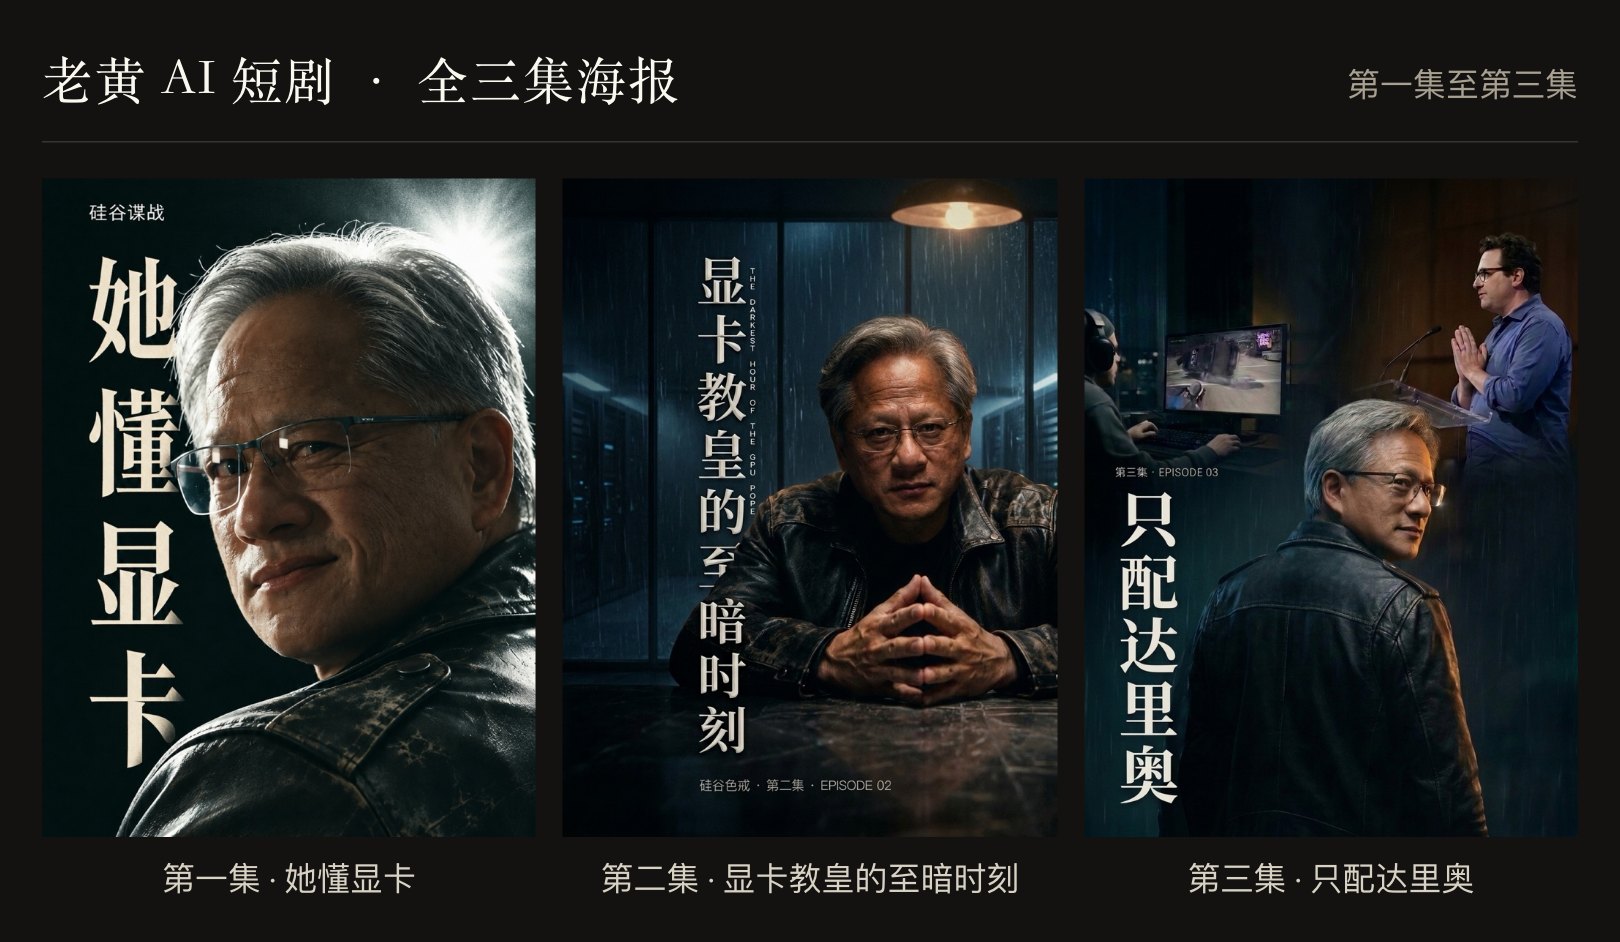
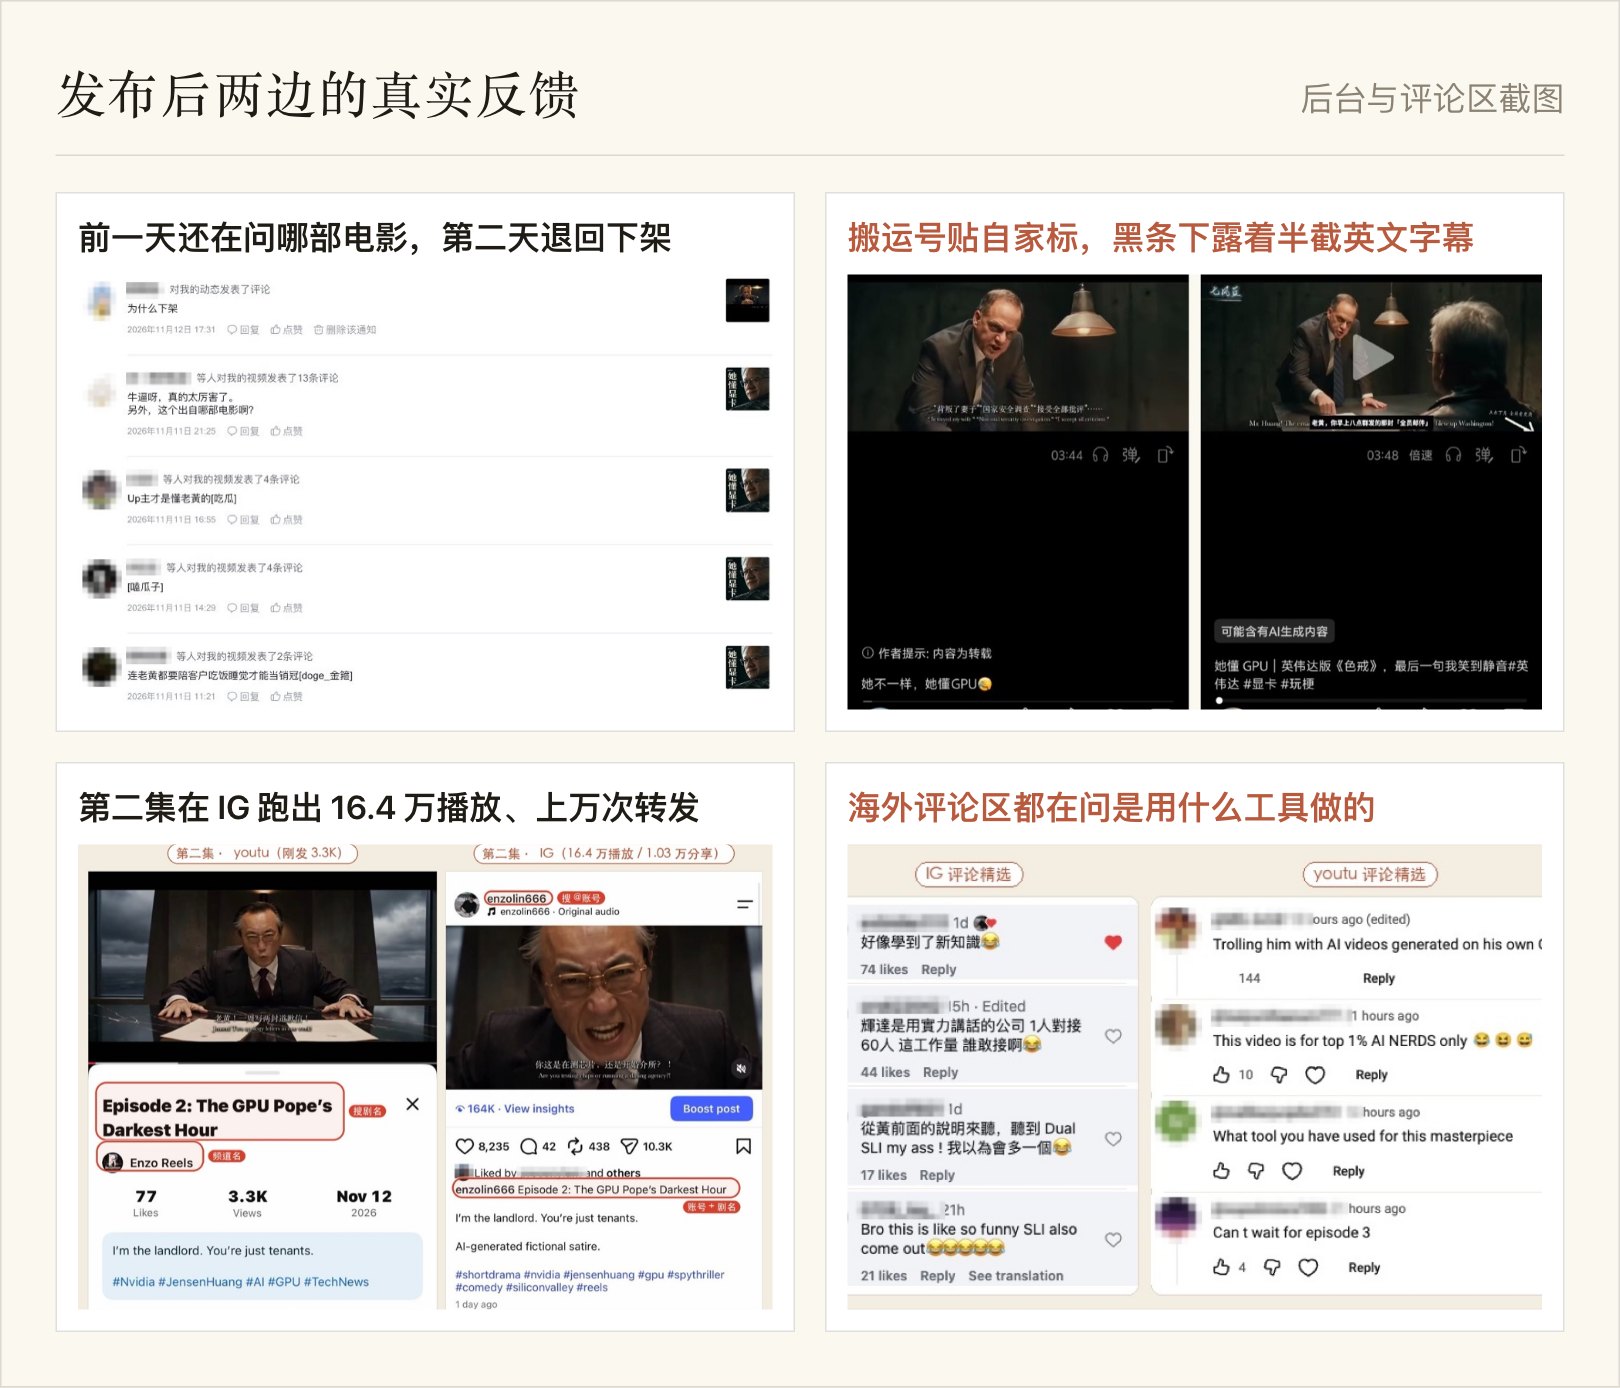
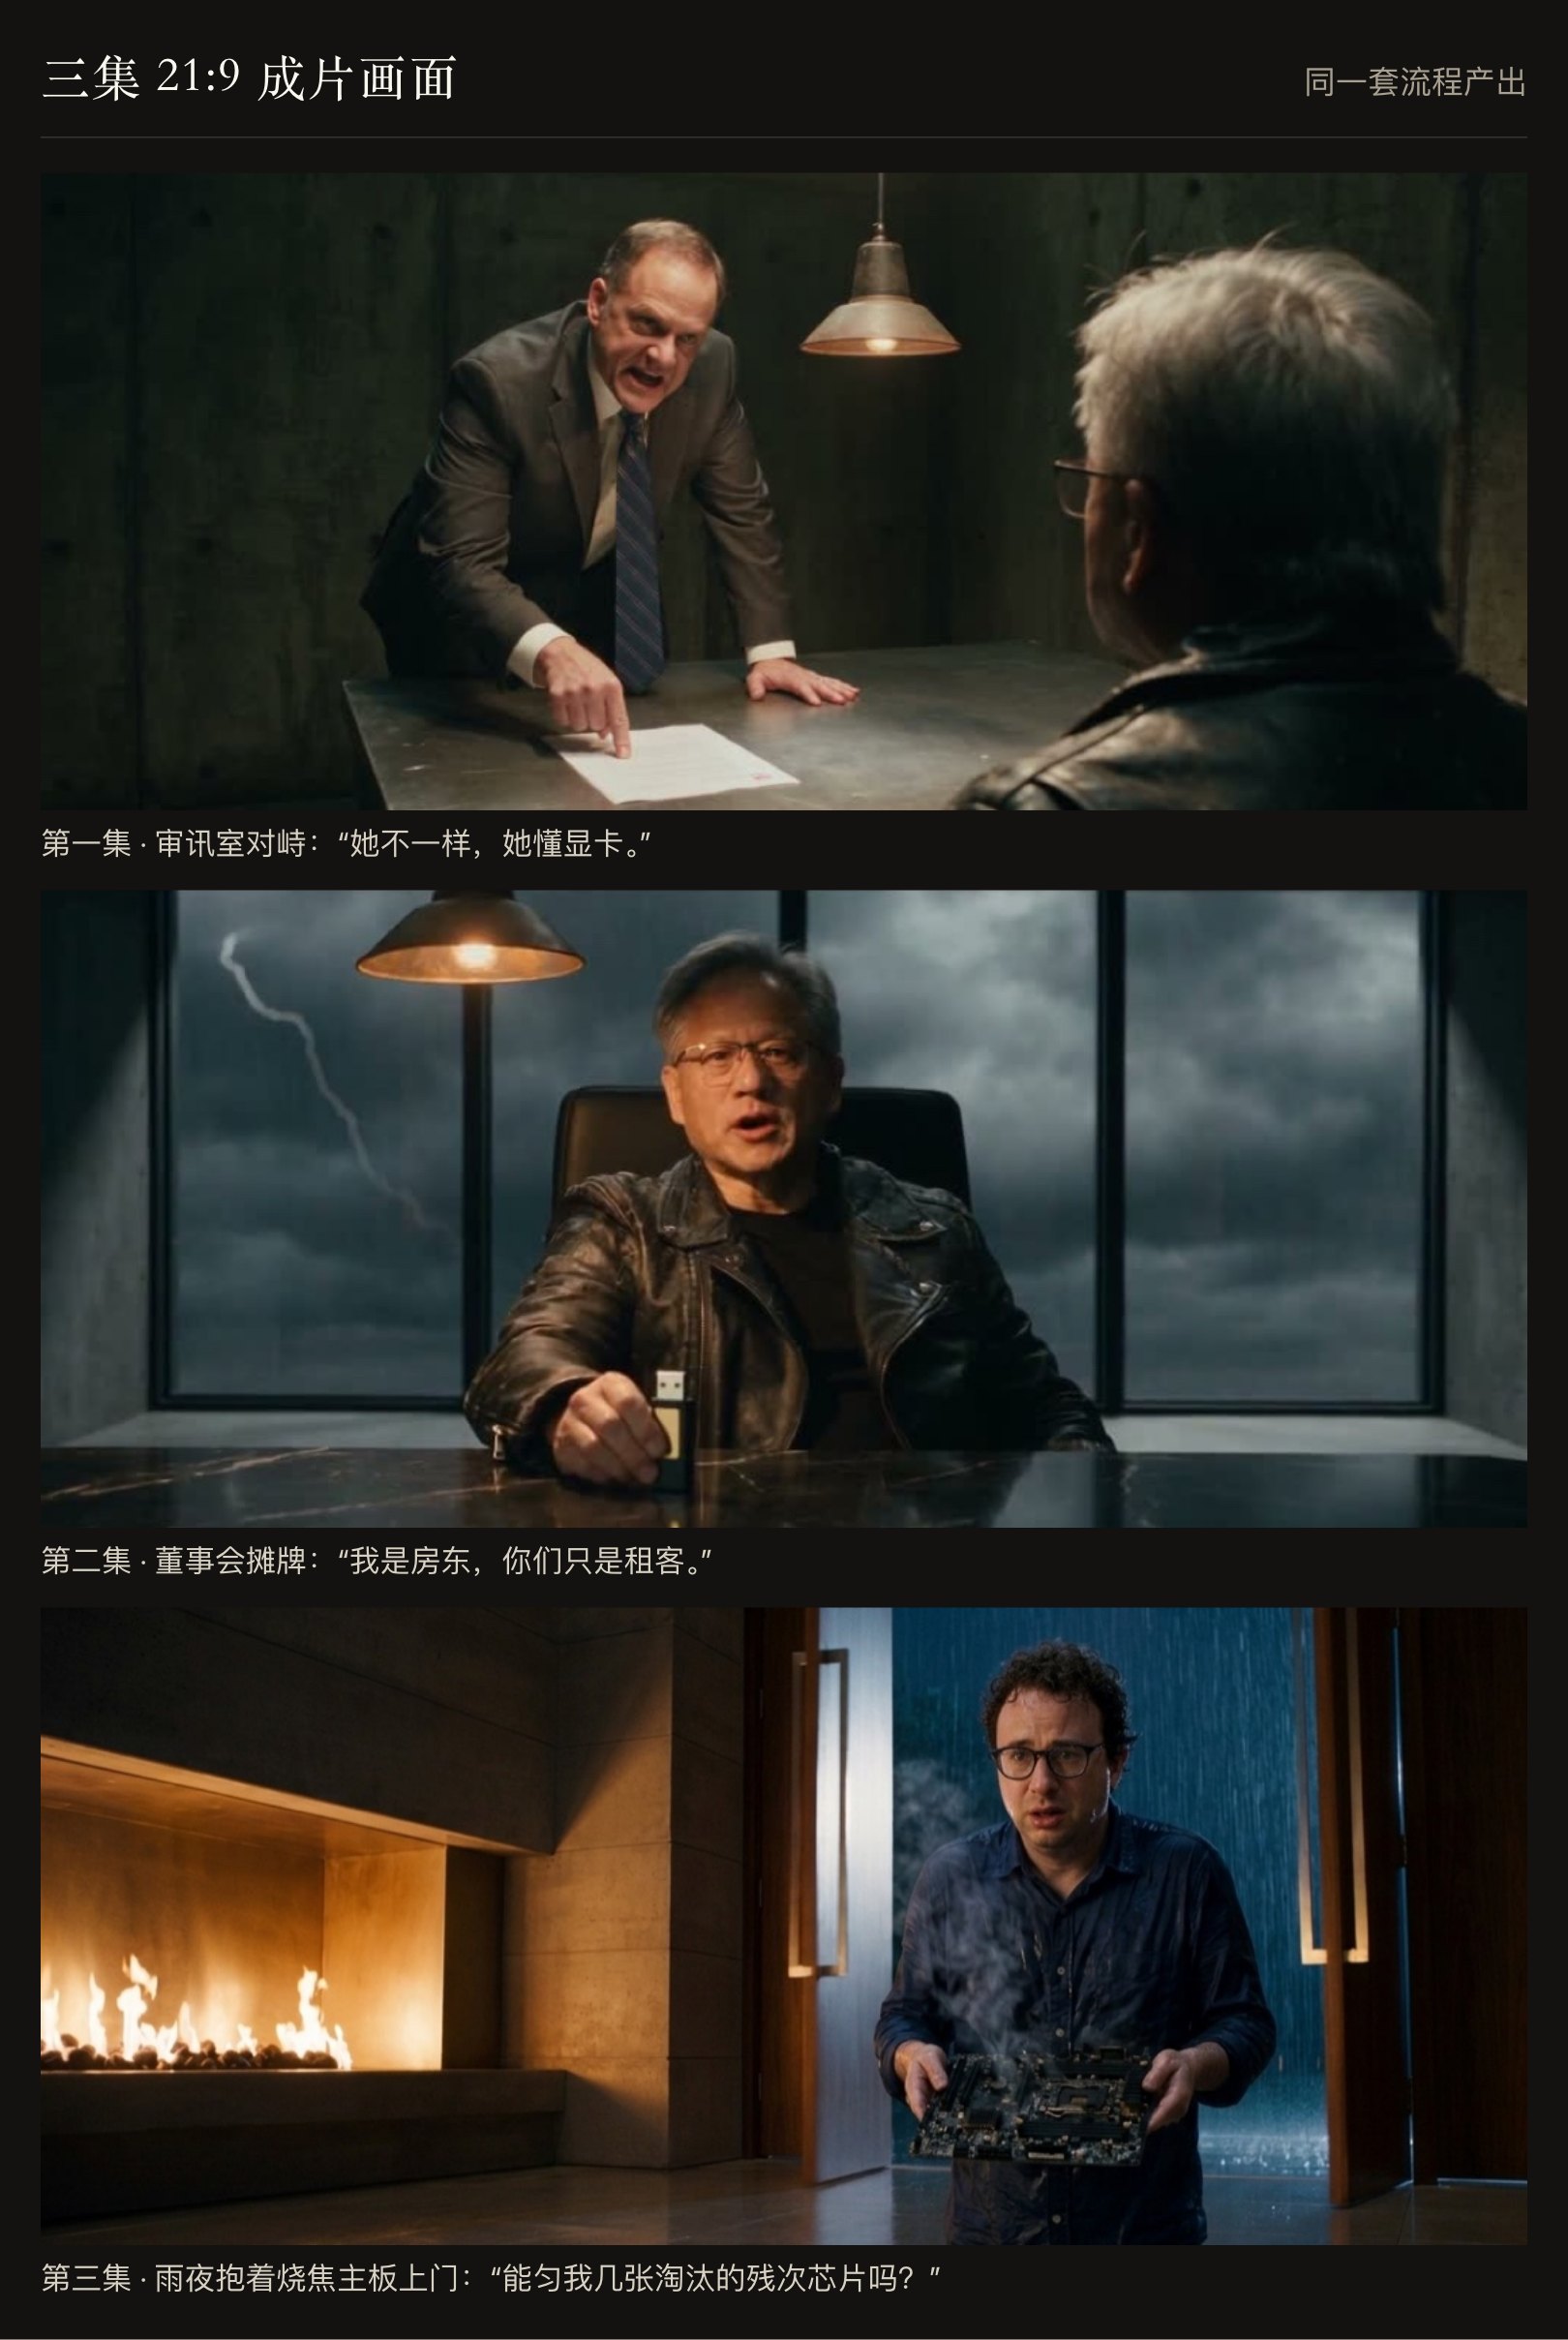
Over the past two days I finished generating Episode 3 of the Jensen Huang AI short drama, “You Don’t Deserve Jensen Huang — You Only Deserve Dario!” After the first two episodes were taken down domestically, single-episode views overseas passed 160K, and the comments section has been asking nonstop what tool generated them.
All three episodes run on an AI Short-Drama Generation Skill I’ve spent the past three months refining, and I’m wrapping up the final cleanup to open-source it. If you find it useful, follow and share so I can gauge interest — I’ll publish the full production workflow right alongside it.
01Why Self-Generated AI Short Dramas Look Like Plastic
Most people who try generating an AI short drama end up with unwatchable clips because they hit the same three traps:
First, gambling on raw luck right out of the gate. Generating high-resolution video before the script even holds together produces two stiff characters trading hollow one-liners — burning through every credit with nothing usable left.
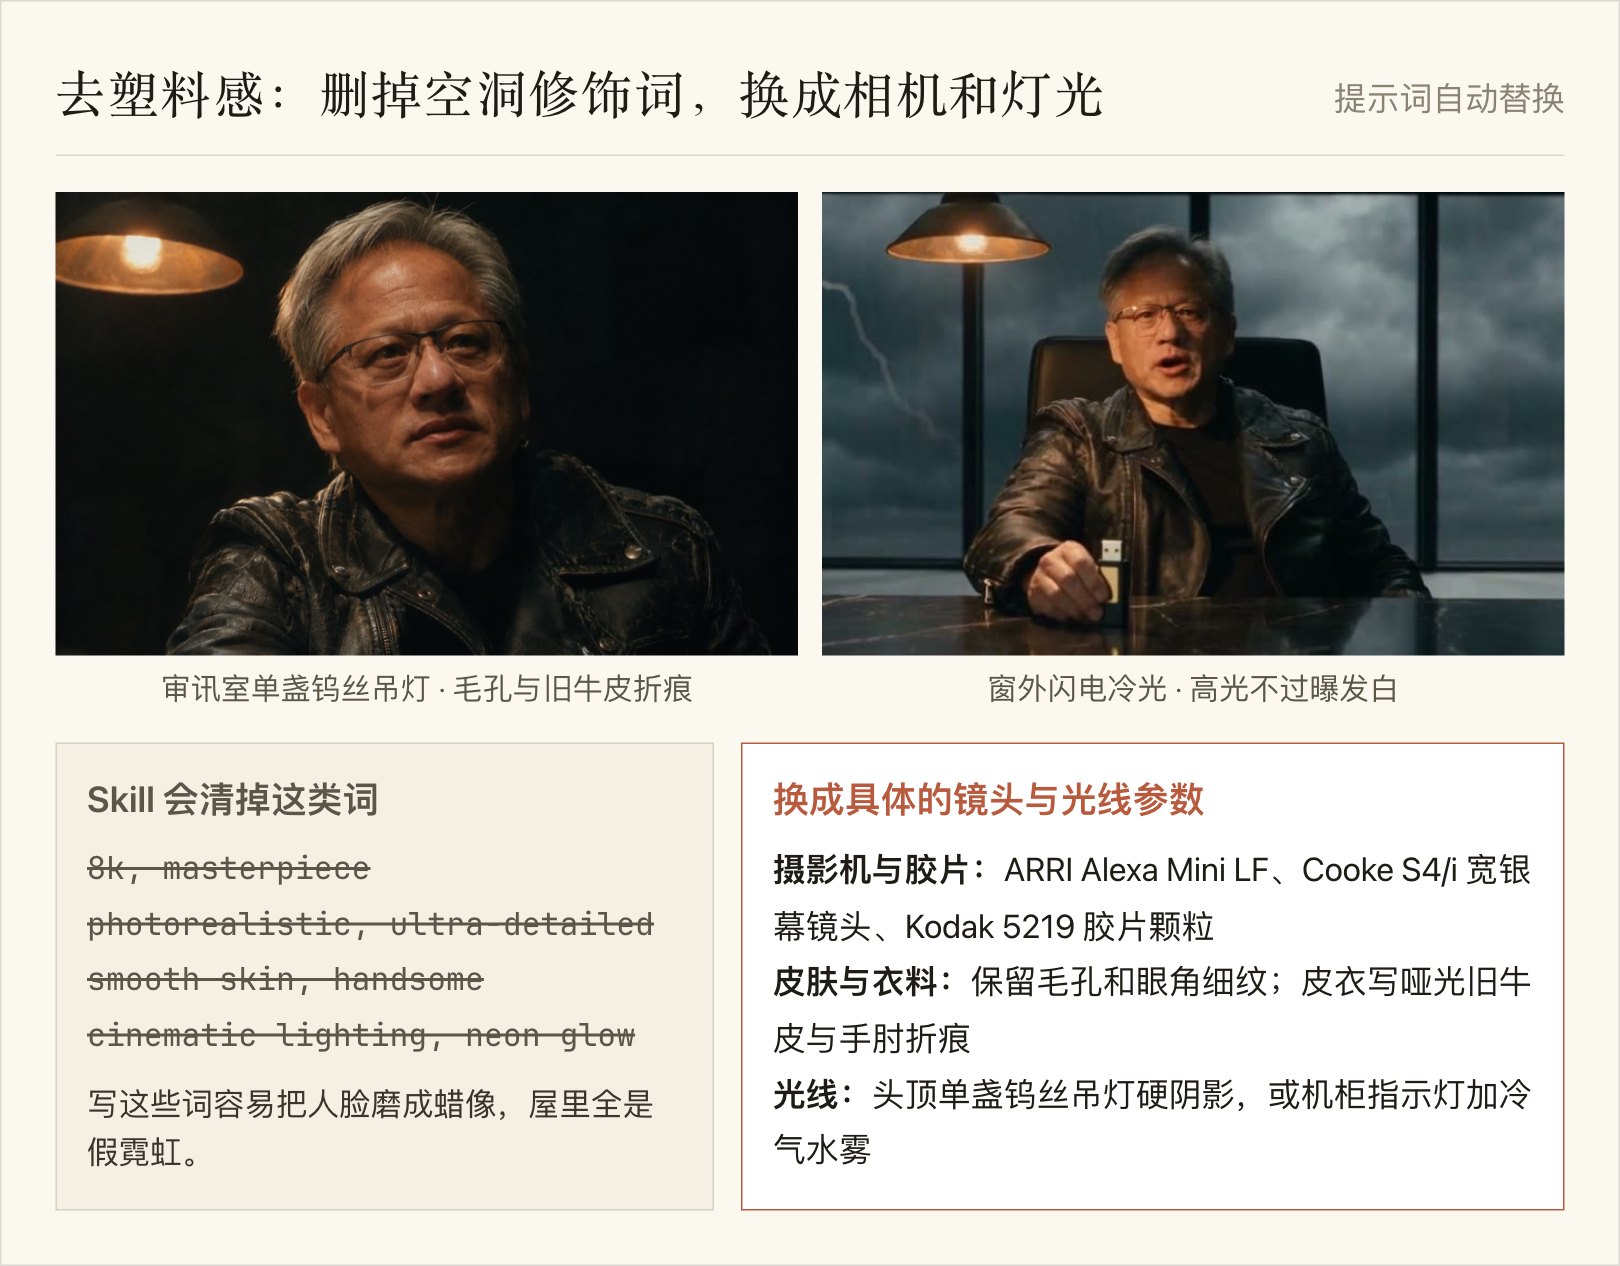
Second, writing prompts backward. Stuffing prompts with 8k, masterpiece, and smooth skin pushes the model straight into wax-museum faces, shiny plastic leather jackets, and fake neon glare.
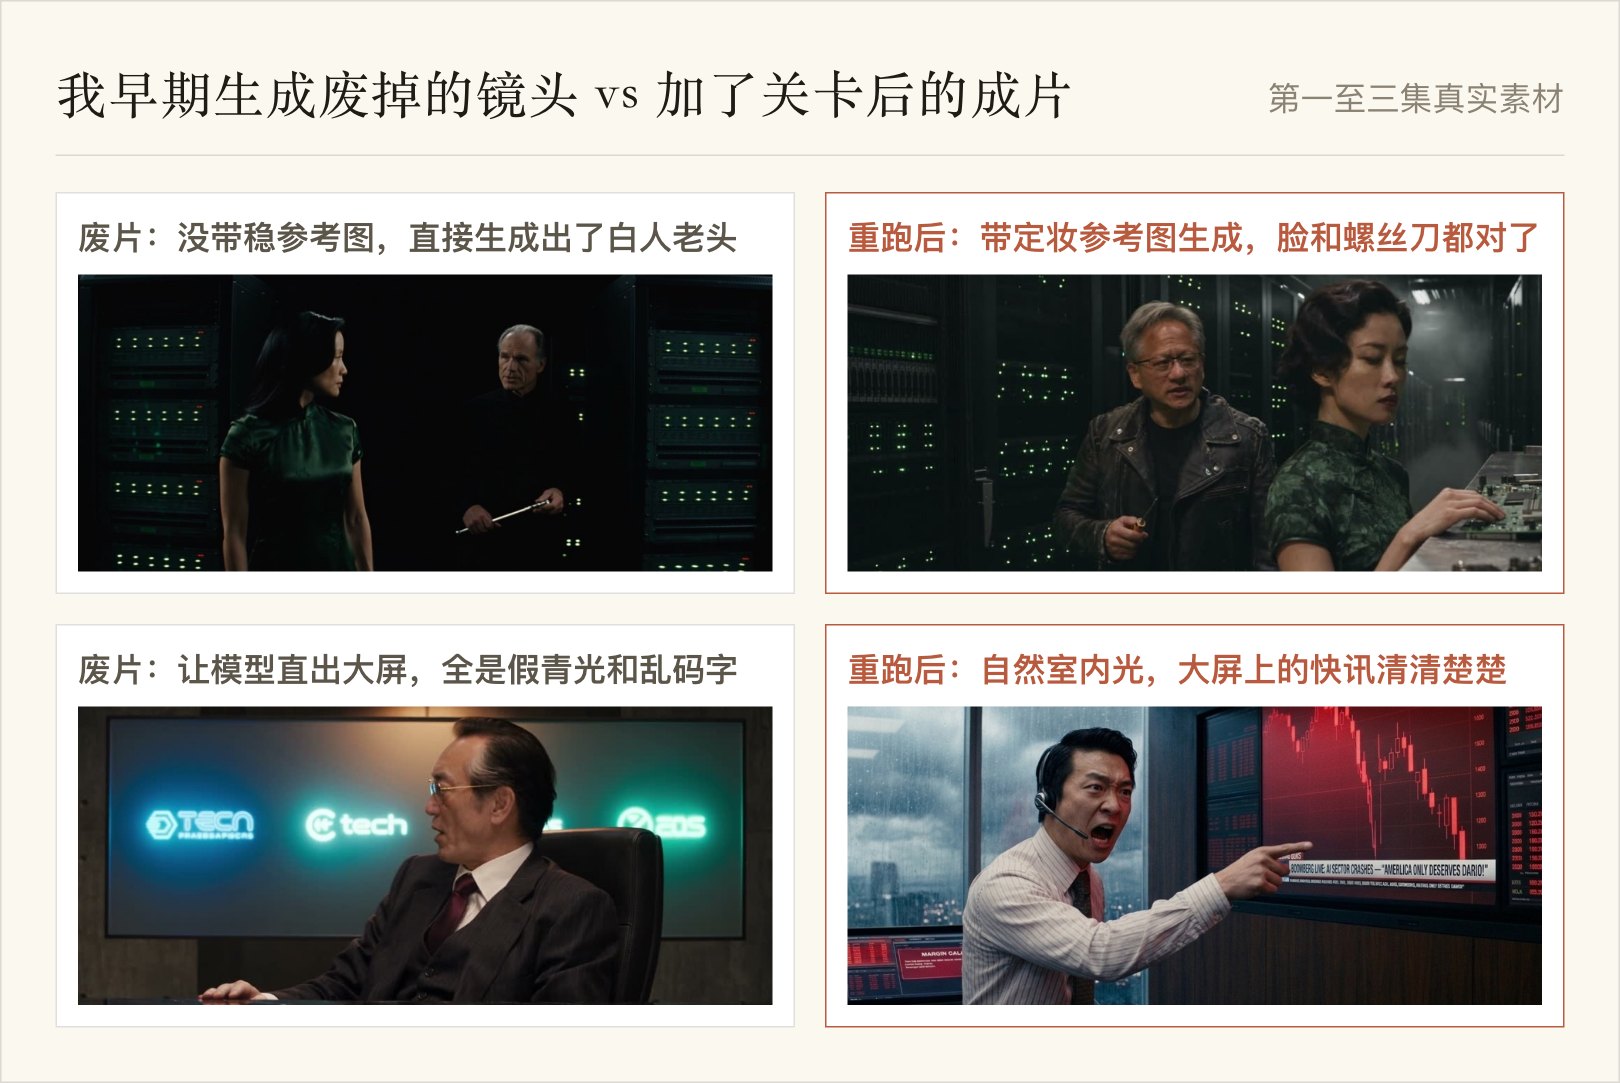
Third, losing the rules mid-conversation. Once a chat thread stretches out, the AI starts dropping plot beats, rewriting lines behind your back, and swapping faces mid-scene. In my Episode 1 rough drafts, background screens turned into garbled symbols — and Jensen even morphed into a random white guy mid-walk.
02More Than One-Click Generation: What Else Can It Do?
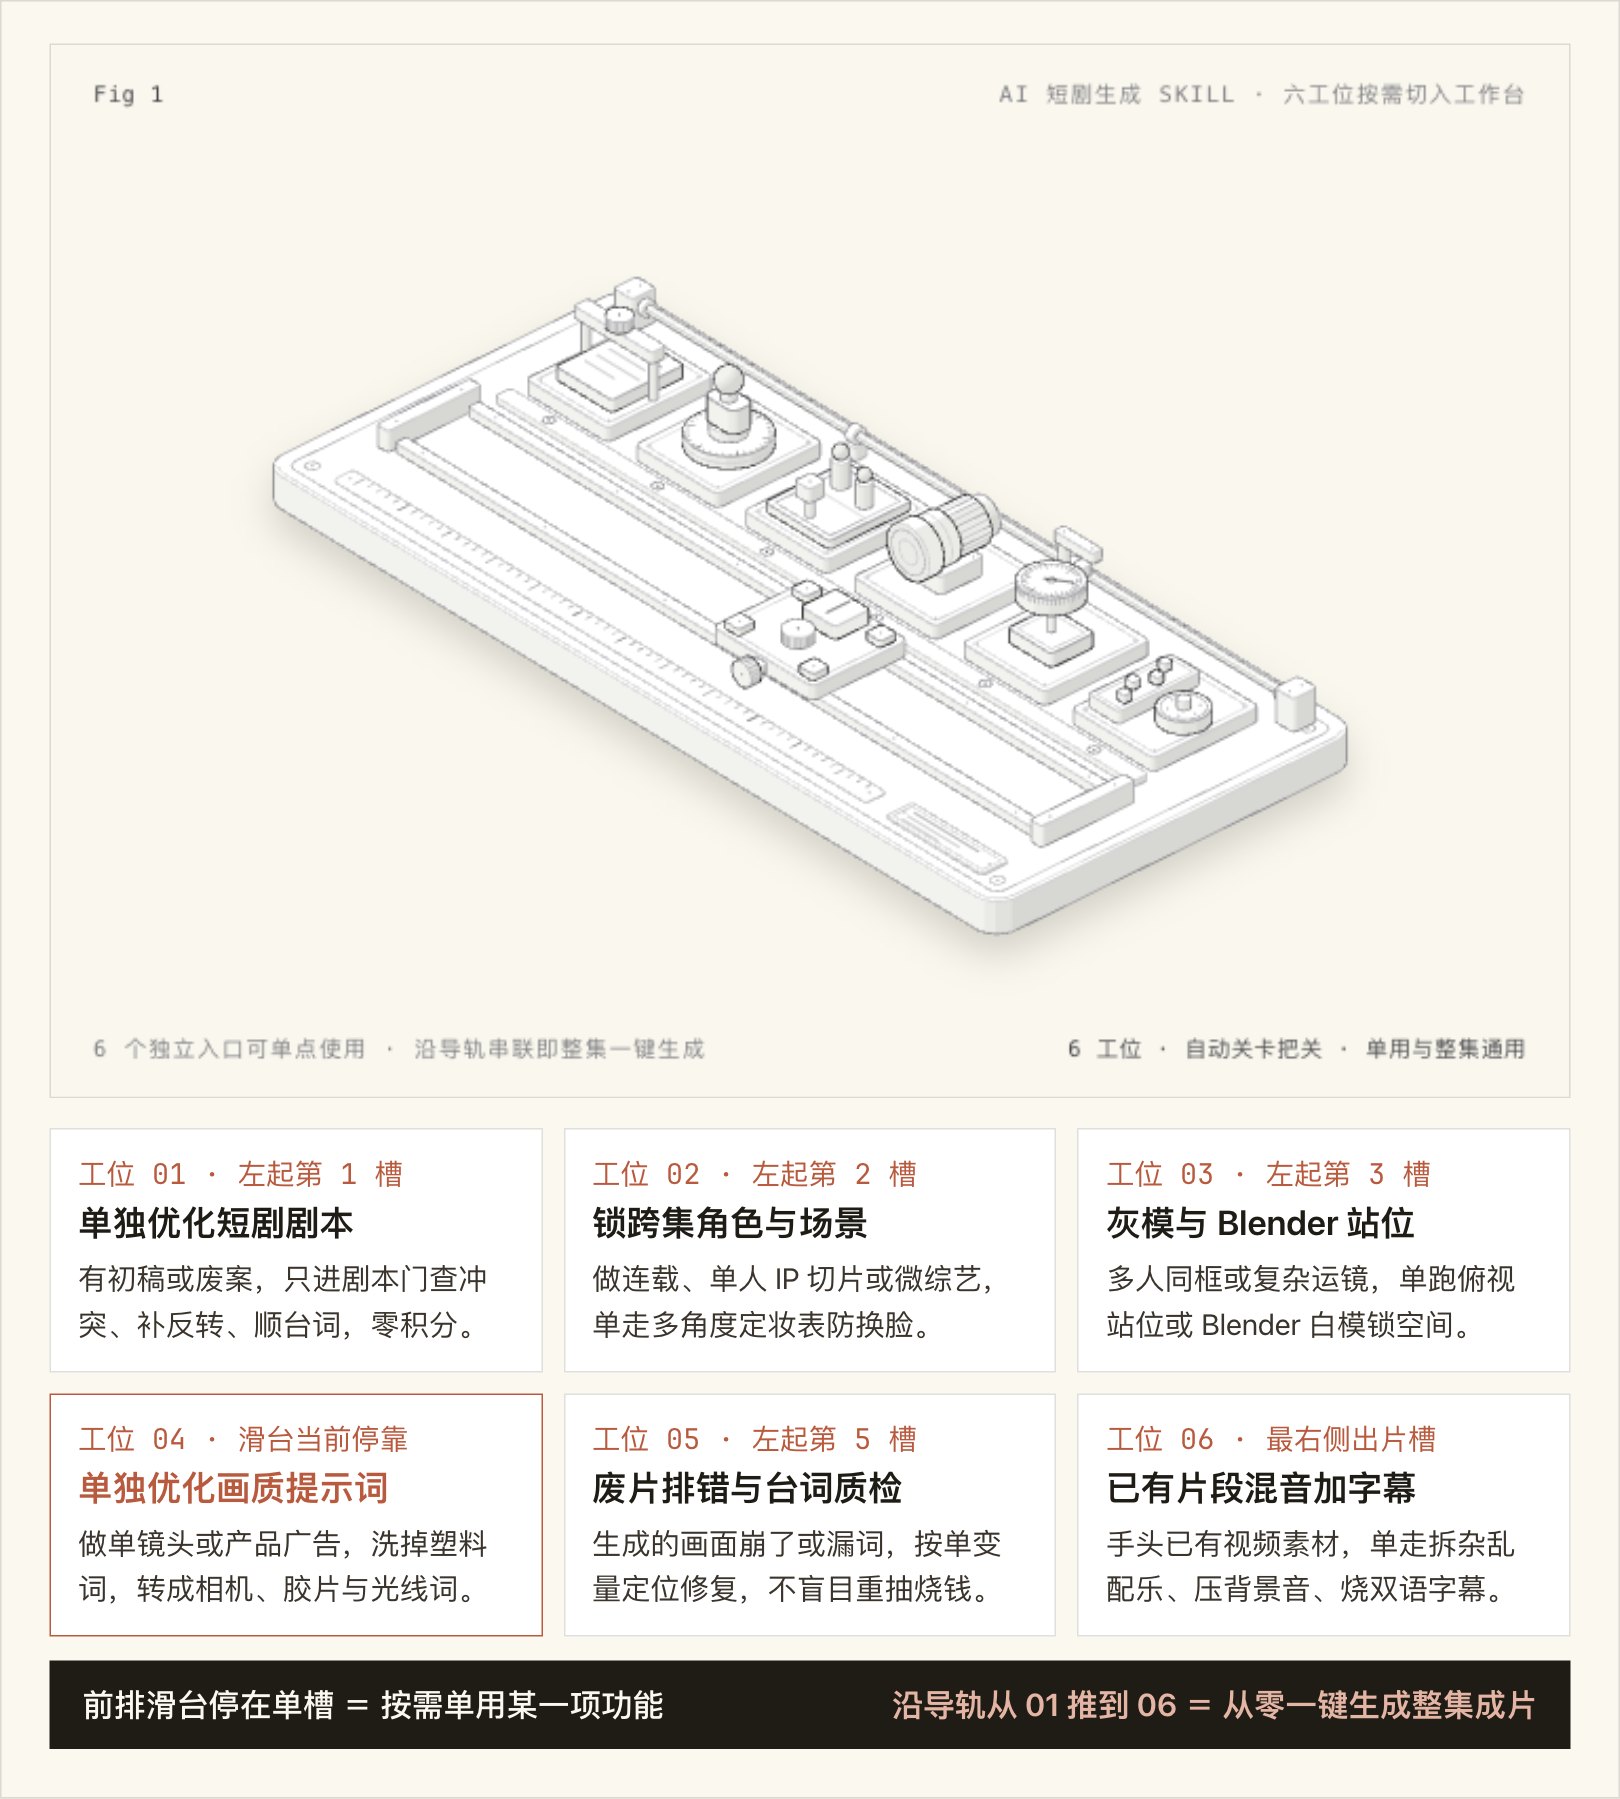
My AI Short-Drama Generation Skill can run an entire episode from scratch in one pass, or split into six standalone stations you can invoke individually — whichever step has you stuck, jump straight into that slot:
Getting a cinematic look instead of assembly-line sludge comes down to four built-in gates:
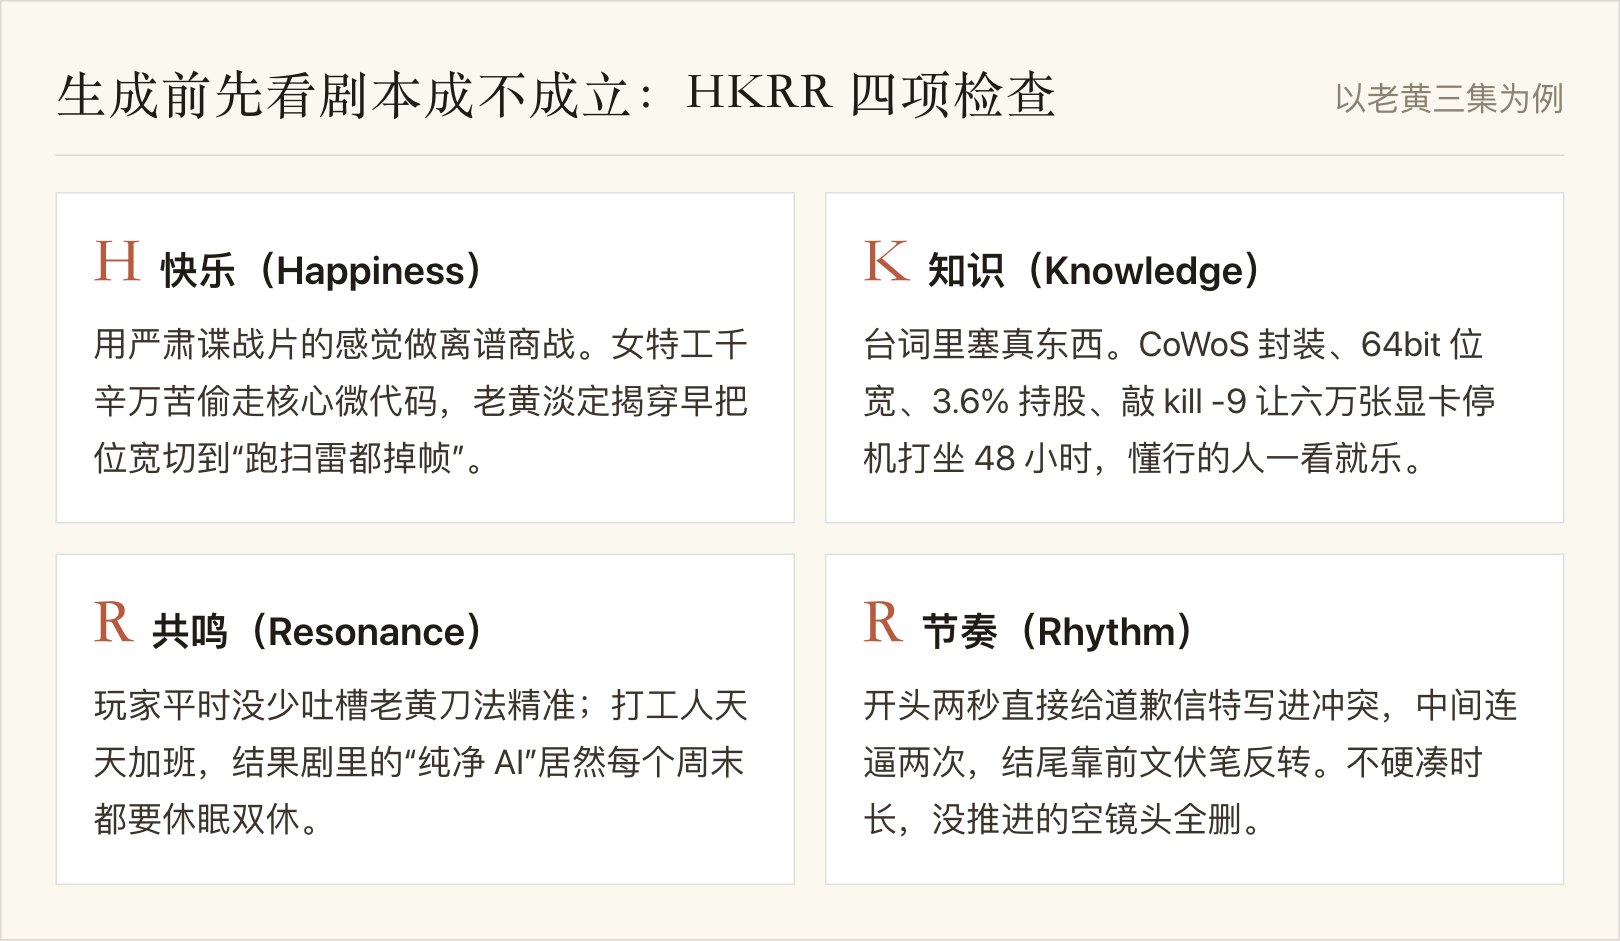
1. Audit the script with HKRR first (also usable at zero credit cost to rescue an existing draft): check Happiness, Knowledge, Resonance, and Rhythm before generating a single frame, grounding scenes in sharp contrast and real details.
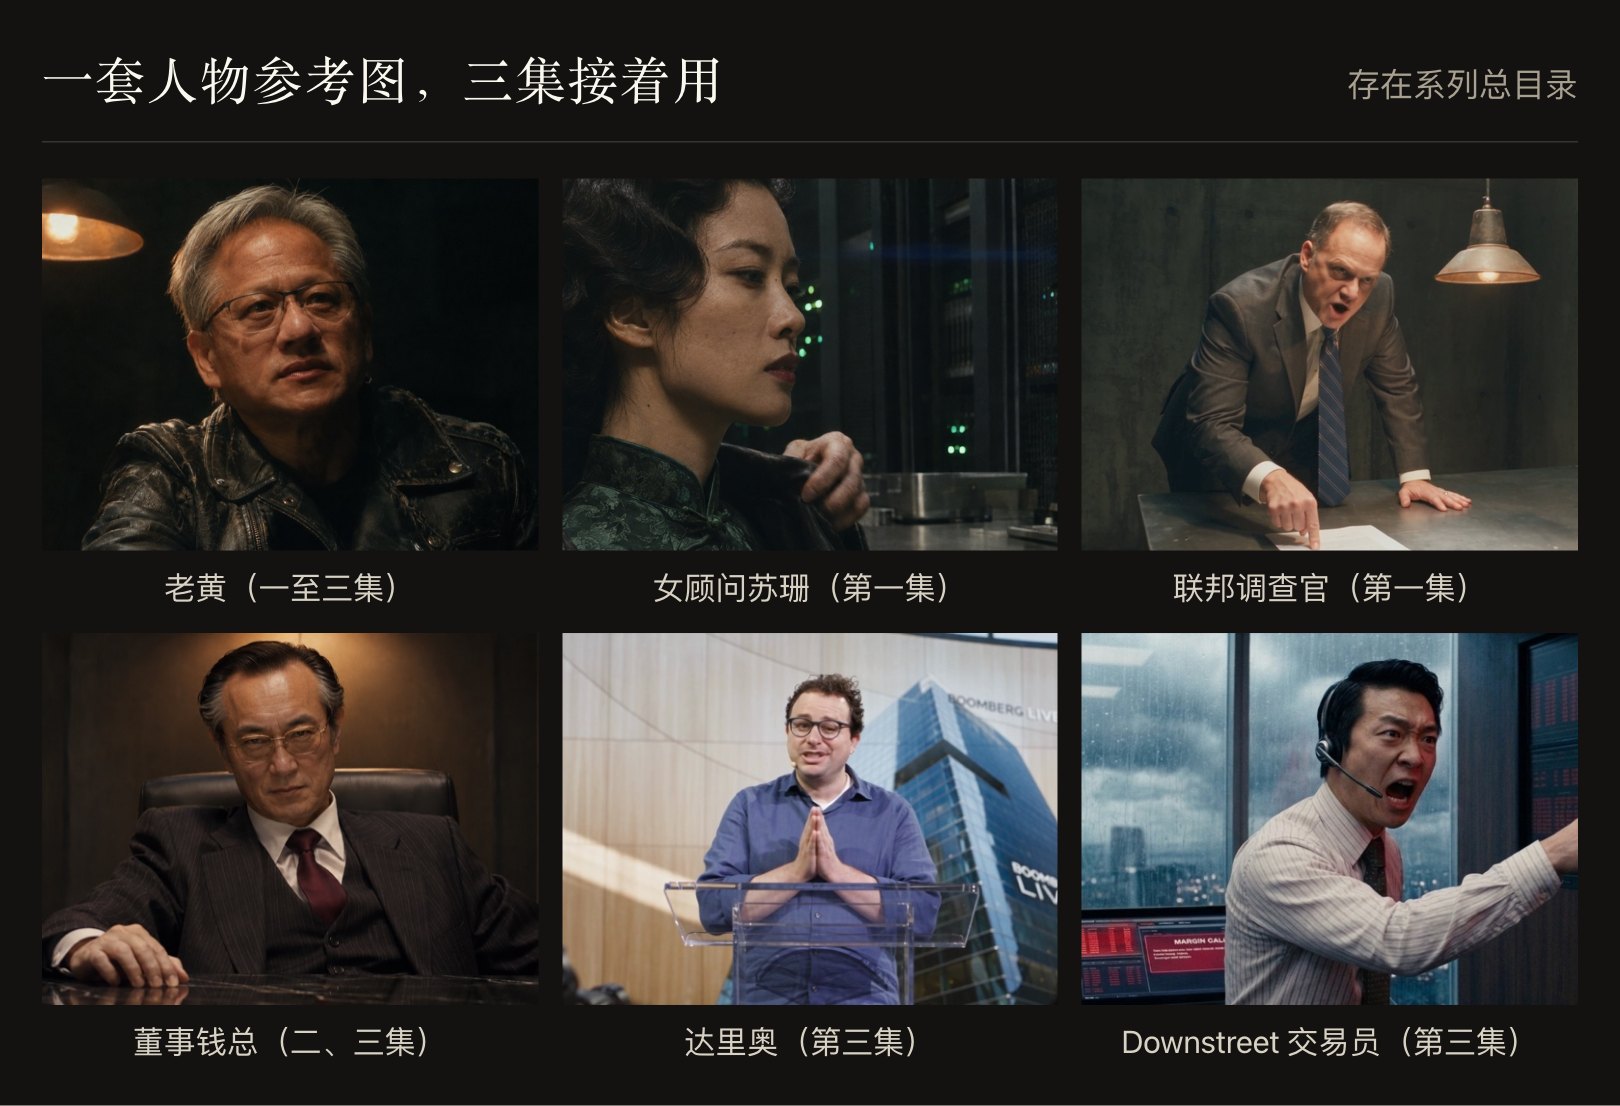
2. Lock character faces with multi-angle turnarounds: cast and main sets are stored once in a shared master directory and reused directly across Episodes 2 and 3, preventing mid-series face drift.
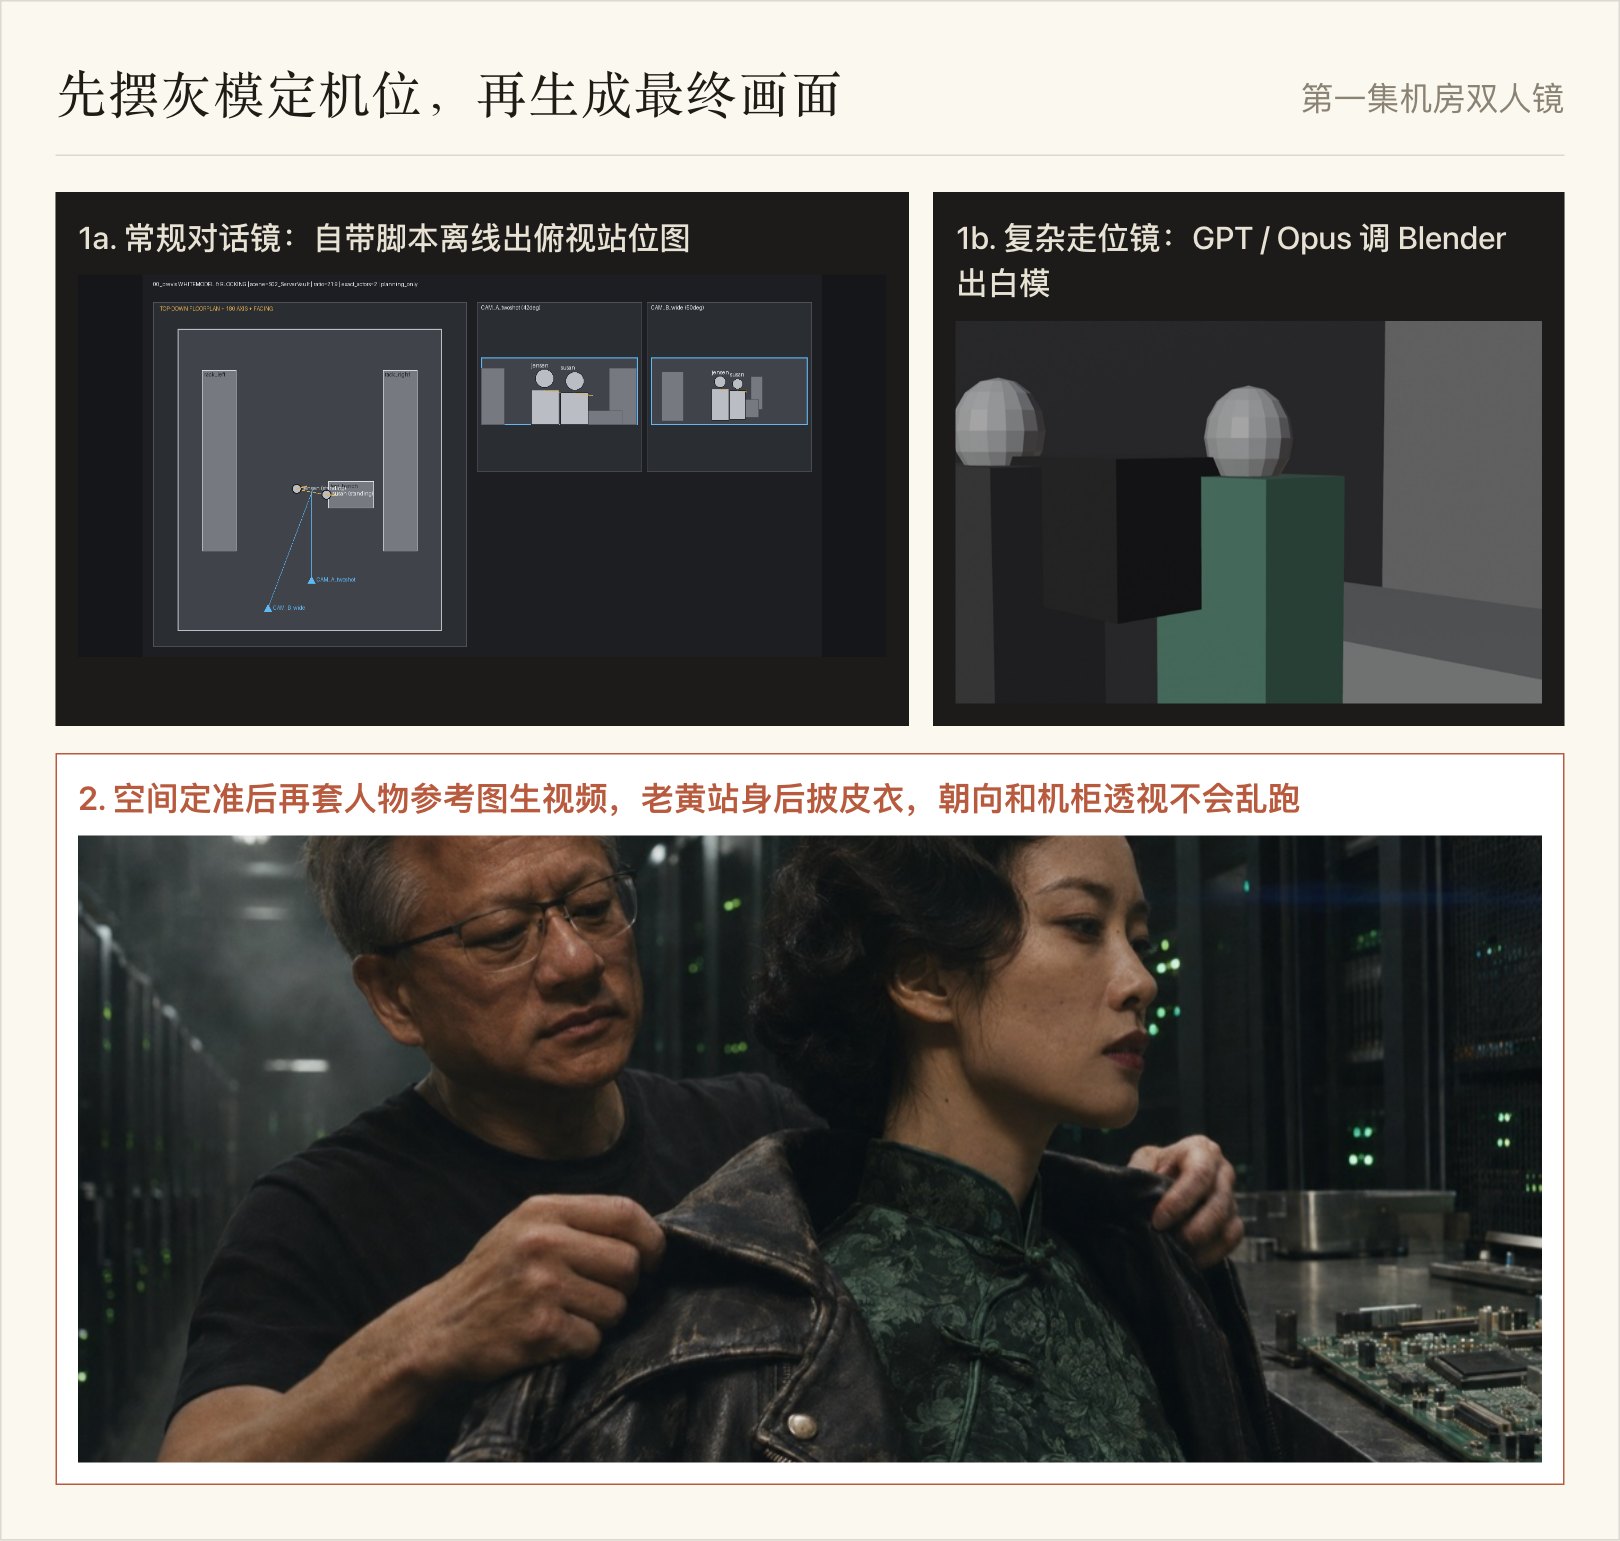
3. Stage gray-model blocking before generating video: multi-character shots generate offline overhead floorplans first, while complex staging calls local Blender to render a 3D clay previs — locking positions and eyelines so characters stop looking the wrong way or sprouting extra heads.
4. Strip out plastic buzzwords automatically (handy on its own for single shots or product ads): purge skin-smoothing filler words and replace them with concrete cinema camera bodies, anamorphic lenses, film grain, and single-source lighting across Jimeng, Seedance, Xiaoyunque, Higgsfield, and other major platforms.
03How Beginners Use It — and Which AI Models Fit Each Step
Every rule above is already baked into the tool — no coding and no timeline editing required. Drop it into Claude Code or Codex, open an empty folder, send a one-line premise, and you only make three sign-off decisions from start to finish.
Here is the model lineup I use on real runs: for the orchestration layer that drives the pipeline end to end, Fable 5.2 tests best, Opus 5.5 is rock-steady, GPT Astra holds up well, and for domestic models DeepSeek and Kimi both work cleanly.
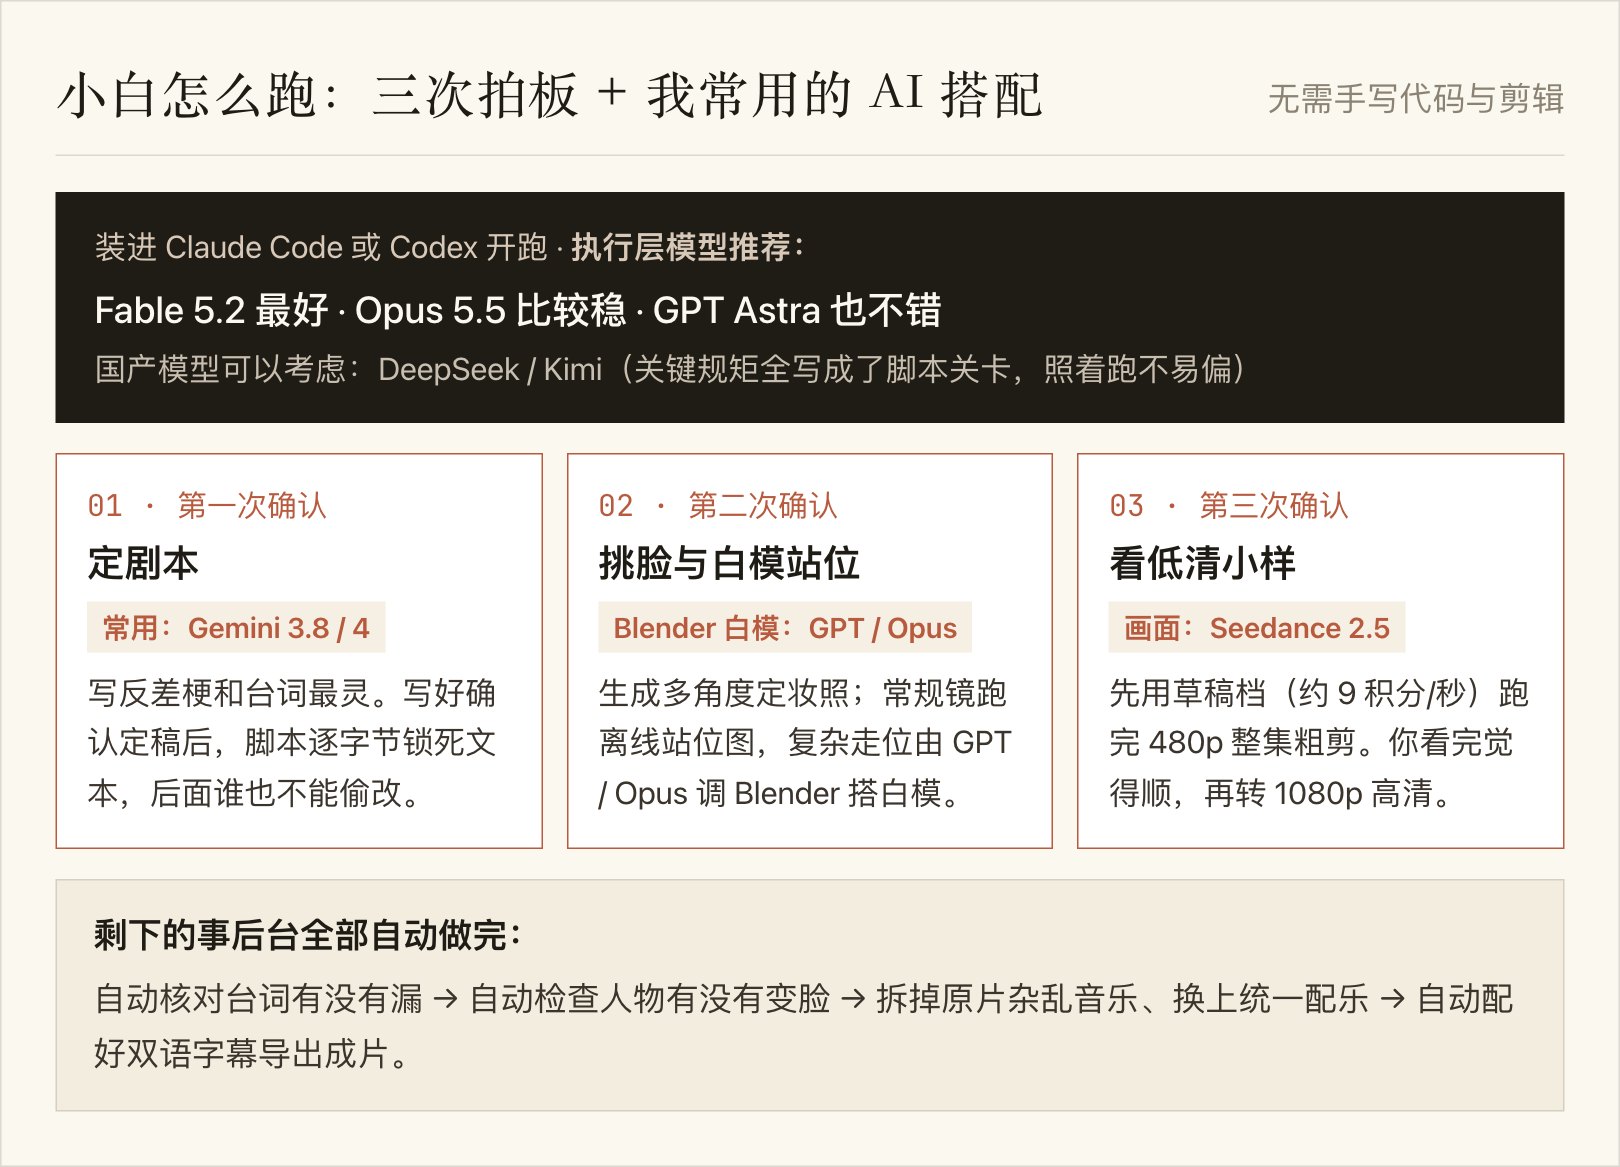
Checkpoint 1: Lock the script (I usually pair Gemini 3.8 and 4). Those two write the sharpest contrast gags and dialogue. Once you read the draft and reply to approve, the script locks automatically so nothing downstream can quietly alter a single line.
Checkpoint 2: Pick faces and staging (GPT or Opus for Blender clay previs). Approve the character reference sheets that look right; standard dialogue scenes run the built-in floorplan generator, while complex blocking goes through GPT or Opus driving Blender before video generation starts.
Checkpoint 3: Review the low-res rough cut (Seedance 2.5 draft tier). Render the full episode in cheap 480p draft mode first (around 9 credits per second in Xiaoyunque tests) while the background checker verifies every spoken line and flags face drift — changing only one variable per re-run. Once the rough cut flows right, upgrade to 1080p.
04How the Finished Episode Lands in Your Local Folder
Traditional prompt helpers hand you a wall of text and leave you copying prompts into web tabs and aligning audio tracks by hand. This tool delivers step by step straight inside your local folder, logging progress and credit spend in real time so a dropped connection or model switch resumes right from the last completed shot without double-charging.
Once the 1080p shots finish, the background pipeline strips messy generated background music, lays in a unified score that ducks cleanly under dialogue, aligns bilingual subtitles, and saves the clean subtitle-free master, bilingual subtitled cut, and horizontal and vertical covers for each platform right into your folder, ready to post.

I’m putting the finishing touches on the repository and quickstart guide. If you want it, hit follow and share so I can see how many people need it — and I’ll share my full production workflow alongside it. Even if only a few people ask, I’ll still open-source it here on the blog, so keep an eye out for the next post: blog.enzocreative.me